

Publish
Sends the post to LinkedIn now. Its status becomes Published. Nothing between you and the feed, so re-read it first — particularly the opening line and anything with a number in it.Schedule
Sets a date and time. The post becomes Scheduled and goes out on its own; you don’t need to be around.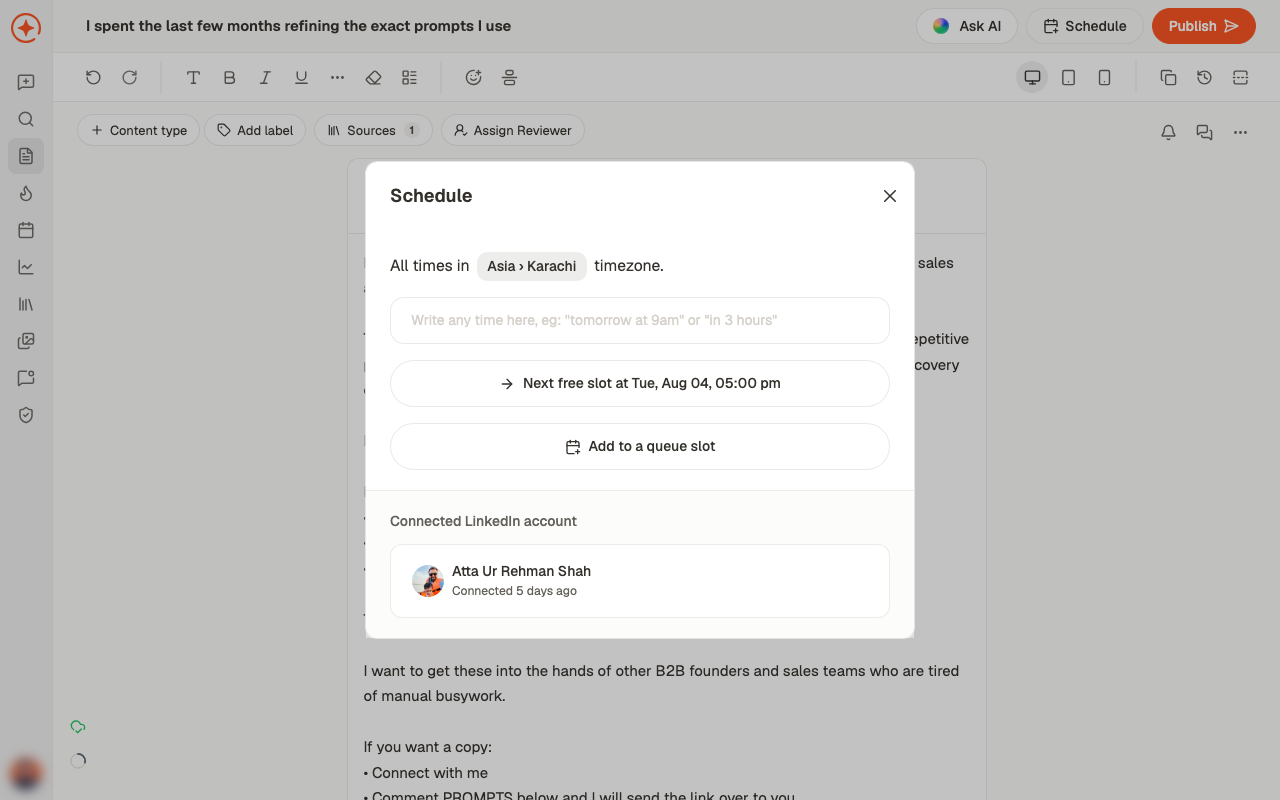
Pick a specific time
When timing matters — a launch, an event, something tied to a date.
Use a queue slot
For everything else. Consistency beats optimisation, and one decision about your
posting windows covers every post after it.
Before you schedule
A scheduled post publishes through your connected LinkedIn account. If that connection has expired by the time the slot arrives, the post lands in Failed rather than going out.Changing your mind
Scheduled posts can be moved from the calendar by dragging them to a new slot, or reopened in the editor. Next: once it’s live, find out how it did. See analytics, then analyze your content to turn that into the following week’s ideas.Related
Calendar
See everything scheduled, and set up your slots.
Post statuses
Scheduled, Published, Failed, and the rest.
Review and approval
Getting sign-off before it goes out.
Edit a post
Where both buttons live.