

Creating a key
1
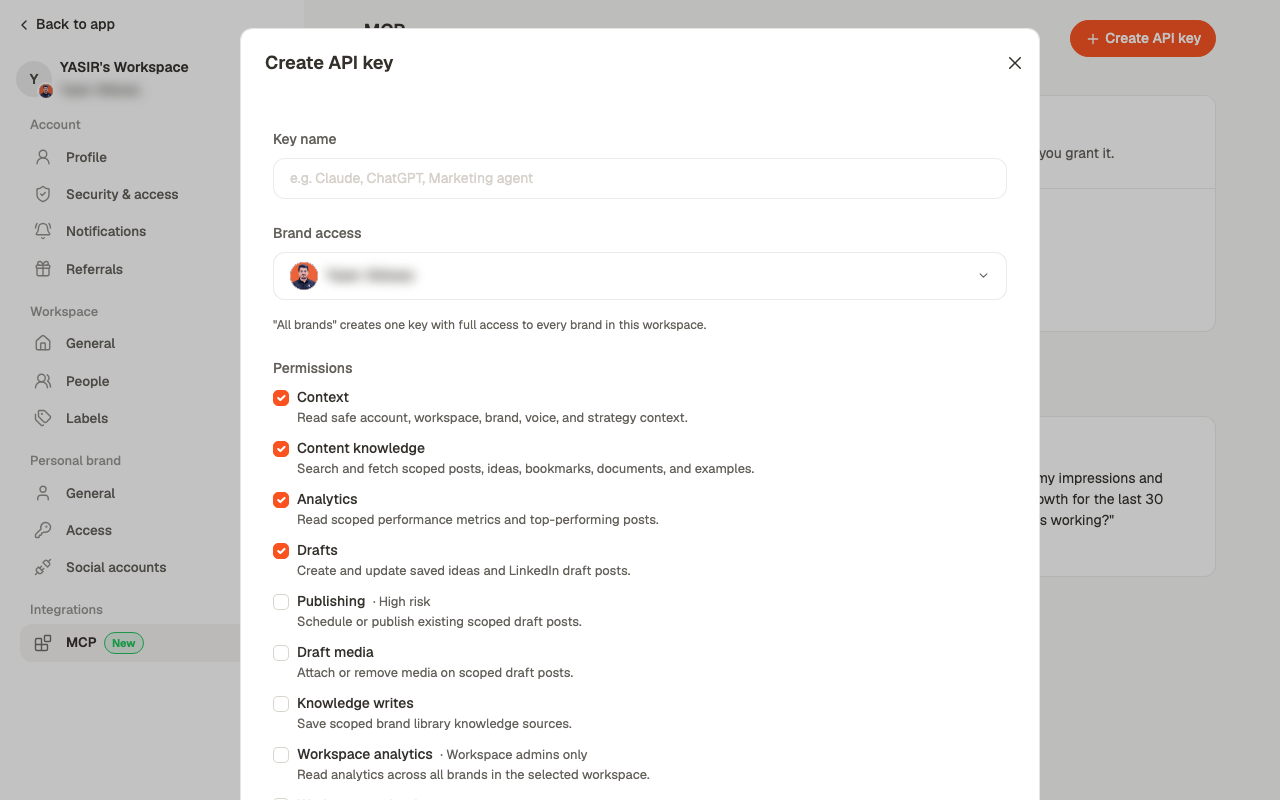
Click Create API key
Give it a name you’ll recognise later — the client it’s for, or the person using it.
2
Choose the brand access
Pick a single brand, or All brands — which creates one key with full access to every
brand in the workspace.
3
Tick the permissions
Context, Content knowledge, Analytics and Drafts are on by default.
Publishing (marked high risk), Draft media, Knowledge writes and the two
workspace-wide reads are opt-in.
4
Copy the connection URL
This is the only time you’ll see it.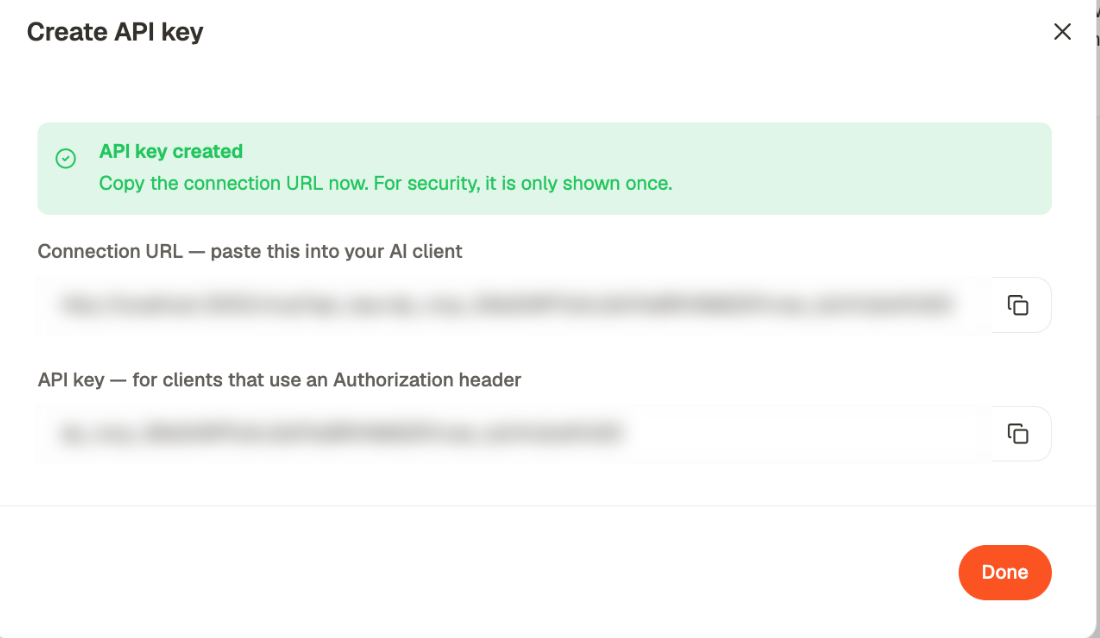 You get two things. The connection URL is the one you want — it’s what almost every
client asks for, and the key is already inside it. The API key on its own is only
for clients that want an Authorization header instead.
You get two things. The connection URL is the one you want — it’s what almost every
client asks for, and the key is already inside it. The API key on its own is only
for clients that want an Authorization header instead.
Brand key or workspace key
Brand key
Scoped to one brand. The client acts on that brand and sees nothing else. Right for most
people, and for anyone working on a single client.
All brands
Full access to every brand in the workspace, plus the cross-brand analytics and calendar
tools. Workspace analytics is admins only. For someone reporting across clients.
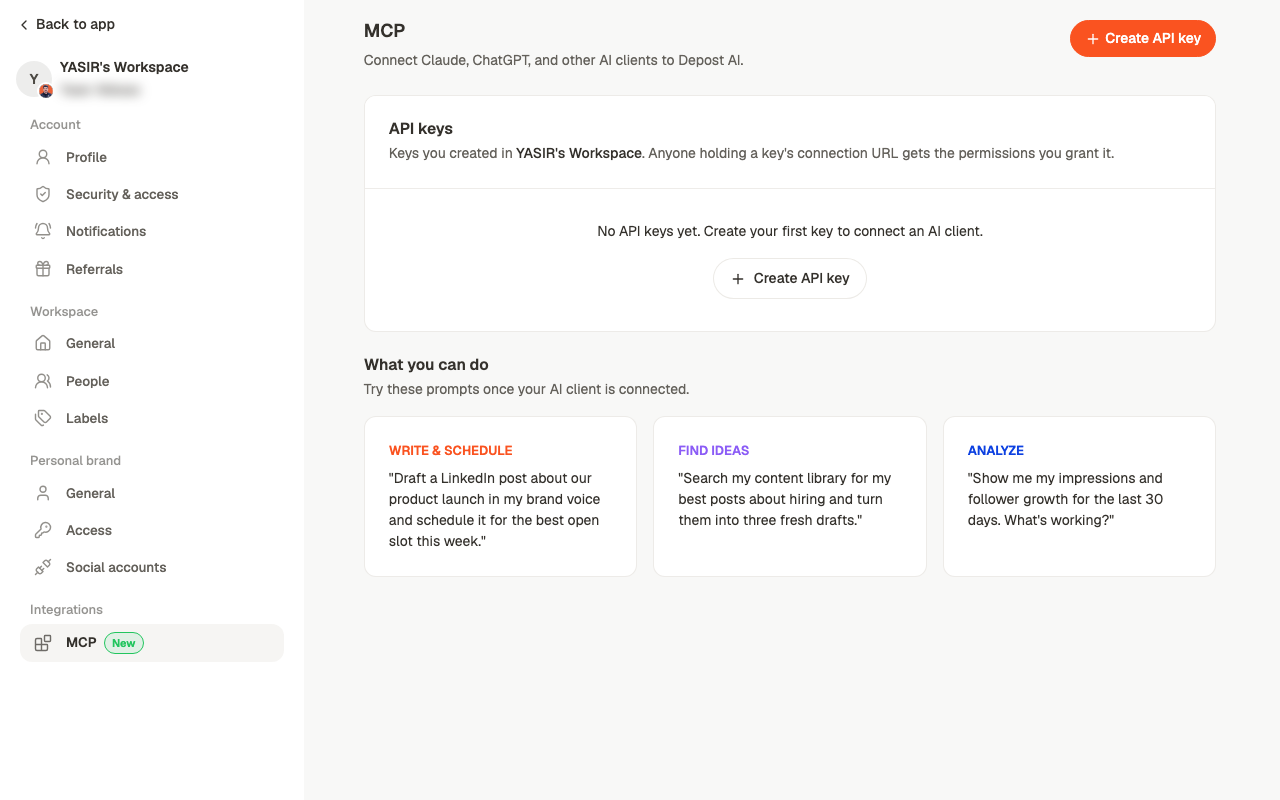
Managing keys
Choosing permissions well
Start without Publishing
Start without Publishing
Drafting is reversible; publishing to LinkedIn isn’t — and the dialog marks it high risk
for that reason. Run without it for a while and add it once you trust the setup.
Only use a workspace key if you need cross-brand reads
Only use a workspace key if you need cross-brand reads
A brand key is a smaller blast radius. Reach for the workspace key when you actually
want reporting across brands.
Related
Connect Claude or ChatGPT
What to do with the URL you just copied.
What the connector does
Permissions and capabilities in full.